Protocol 1 — Varroa destructor monitoring (mandatory)
Two steps: live sugar-roll flotation, and monitoring mite drop on a sticky board.
STEP 1 — sugar-roll flotation
Materials
- A Varroa EasyCheck device, or a homemade container:
- glass jar of 500–720 mL, fitted with a lid with ~3 mm mesh
- alternatively, instead of mesh — a doubly folded queen excluder placed in the lid, with the slots of both layers crossed perpendicular to each other
- Tablespoon
- Powdered sugar
- Flat dish (tray, baking sheet, plate) filled with water to a depth of ~1 cm
- Dry cloth

Procedure
- Add 1 tablespoon of powdered sugar to the container.
-
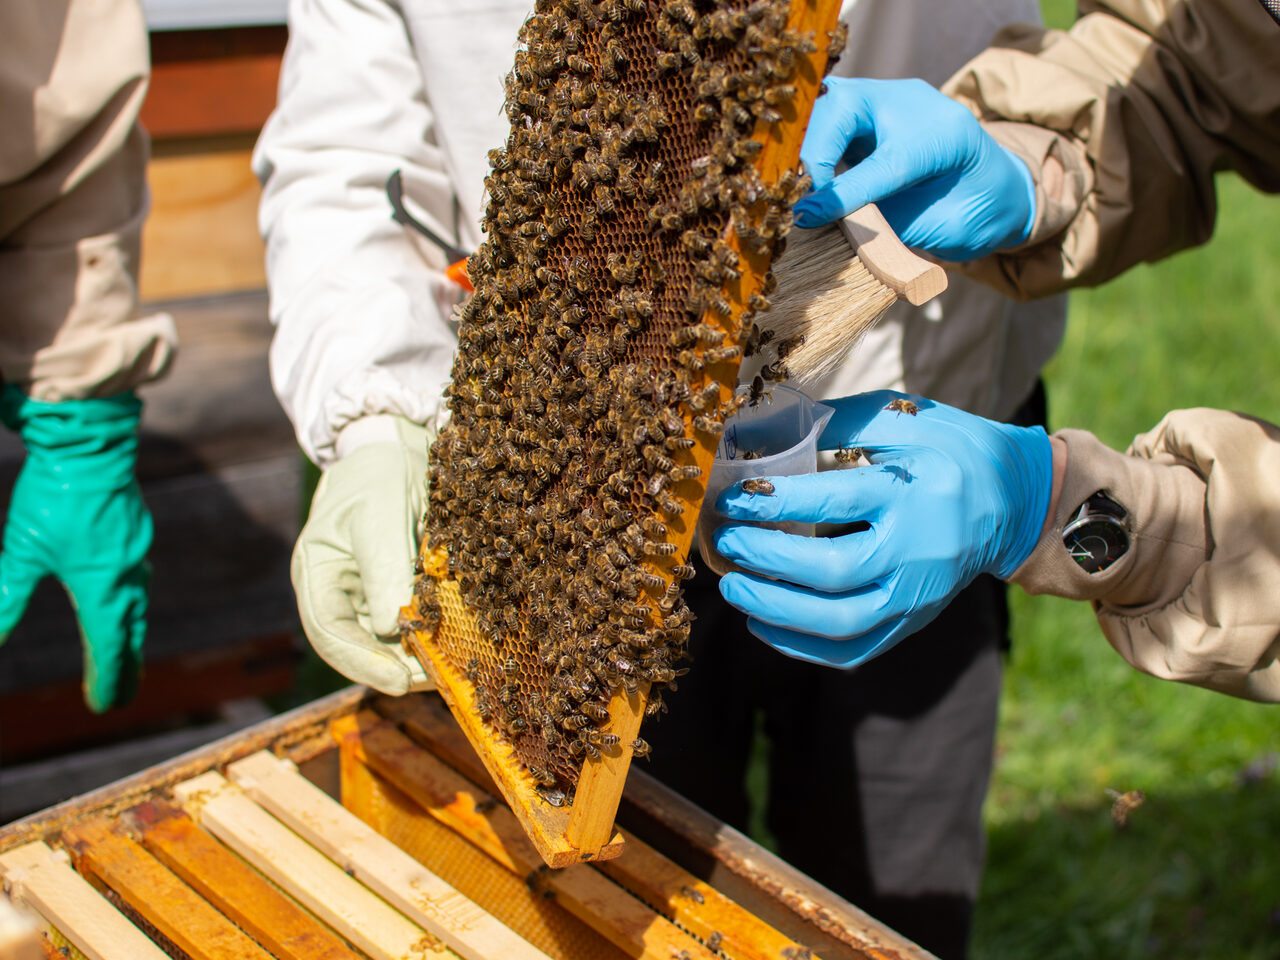
Collect 300 live bees from brood-nest frames (~85 mL of bees = half a cup). The easiest way is to hold the container against the comb and brush the bees in directly with disposable-gloved fingers, sweeping gently over the comb surface, or with a brush.
Do not collect the queen
Be careful not to scoop the queen with the sample.
- Close the container with the mesh lid.
- Roll and gently shake the container for 1 minute so the bees are fully coated with sugar.
- Let it sit for max 30 seconds.
- Prepare a flat dish with water (~1 cm deep).
- Invert the closed container and shake vigorously over the water, like a salt shaker, for 15 seconds. The powdered sugar dissolves in the water and stops obscuring the mites.
Repeat the cycle
Repeat the procedure a second time with the same bee sample:
- Sprinkle 1 tablespoon of powdered sugar over the bees.
- Roll and gently shake the container for 1 minute.
- Let it sit for max 30 seconds.
- Shake vigorously over the same water for 15 seconds.
Counting and reporting
- Count the mites in the water and take a clear, good-quality photo.
- In the Apisense app: add → test → flotation — enter the mite count and attach the photo.
- Return the bees to the colony.
- Wash the dish and dry it thoroughly before next use.
STEP 2 — mite drop on a sticky board
Perform this step if the hive has a screened bottom board with a tray.
Materials
- A ready-made adhesive mite-drop insert, or a homemade one made from:
- a sheet of white smooth paper, a placemat, rigid foil, or a PVC sheet (sized to fit the bottom board — do not use newsprint)
- coated with edible oil or paraffin
Procedure
-
Ready-made insert: peel off the protective layer.
Homemade insert: apply edible oil or paraffin.
-
Place the insert in the lower part of the hive, sticky/coated side up, in the tray under the screened bottom board.
- The insert must lie flat, without lifting, and be clean.
- Leave the insert in place for 7 days.
- After 7 days, remove the insert, count the mites, and take one clear, good-quality photo covering the entire surface of the insert.
- In the Apisense app: add → test → mite drop — enter the mite count and attach the photo.
Detailed flotation procedure
A full description of sugar-roll flotation as a general field procedure (without the seasonal program context) is available in Varroa sugar roll.